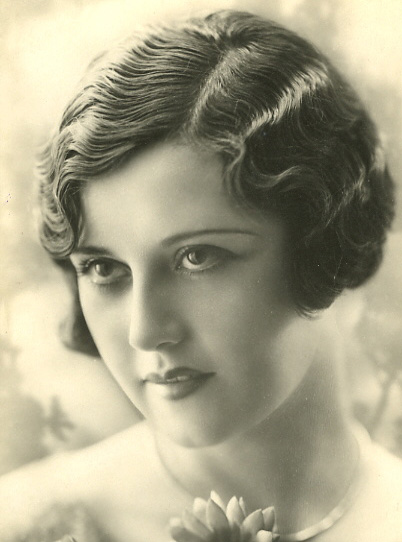
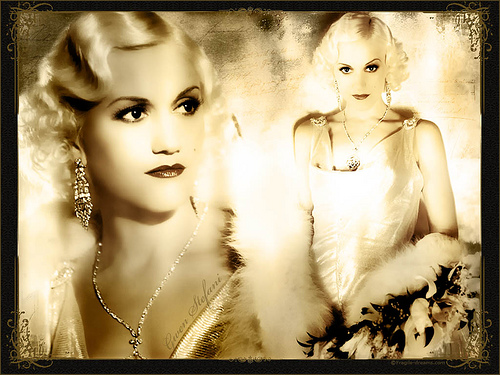
Finger waves were a very popular style in the 1920's and 30's, and later into the 1950's by using pin curls to achieve the style rather than purely manipulating the hair into the signature "S" pattern. This was a style originally used to soften the harshness of a short bob, and was commonly seen on Hollywood stars (and still is), making finger waves popular and fashionable.
 A finger wave is best described as a method of putting a soft "S" pattern into the hair with a comb, setting lotion (gel), and your fingers while creating ridges and waves while the hair is wet, letting it dry undisturbed to create a soft wave. Finger waves are difficult because you have to create the shape while directing the hair. This does take practice, but once you have it down everyone will be asking where you got your hair done! It is one of the most unique and beautiful looks, but remember this is best for short hair (still possible for longer hair and great for updos).
 I really learned how to do this by watching many different people and taking the various techniques and creating my own. I bombarded myself with different videos, and made sure I understood the concept before jumping into it. Remember, there isn't a right or wrong way to do this if the end result is the same! So practice your technique, and if you have your own variation of the finger wave, that's great!
 As usual, I have attached some videos that I really enjoyed. One is of a woman who is creating the look on herself. It really demonstrates the technique of doing this hairstyle on yourself. Some advice: keep your hair saturated at all times. This can be a messy process and will require a TON of gel, and it needs to be strong, sticky gel. I've used the L.A. Looks gel and it works pretty well. You can keep spraying your hair with water if it feels like it is getting too dry as you are putting in your shape, but ideally you do not want it to be too drippy (or I have just diluted the gel slightly and that works too). Also with this first video, after you part your hair, start on the side that is the heaviest, meaning the side with the most hair (i.e. if you part on the right, start on the left).
After you finish putting in the shape, you can either let it air dry and leave it as she does, or you can lightly run a comb through it for a softer look, whichever you prefer.
This second video is great because you can see her technique on very short hair. It is the same technique for all hairtypes and for longer hair, except if its longer then you have the direct the hair under your fingers and keep combing it in the direction you would like to take it. Sometimes the waves will break in two, and if that happens use more gel and spray lightly with water. Have fun, stick with it and I promise you will get it!


